Windows Live Mail Configuration
This guide will assist you with Windows Live Mail Configuration
Note: Some versions of Windows Live Mail (latest) don’t offer the “Test Account Settings” feature, so this has been omitted from the guide.
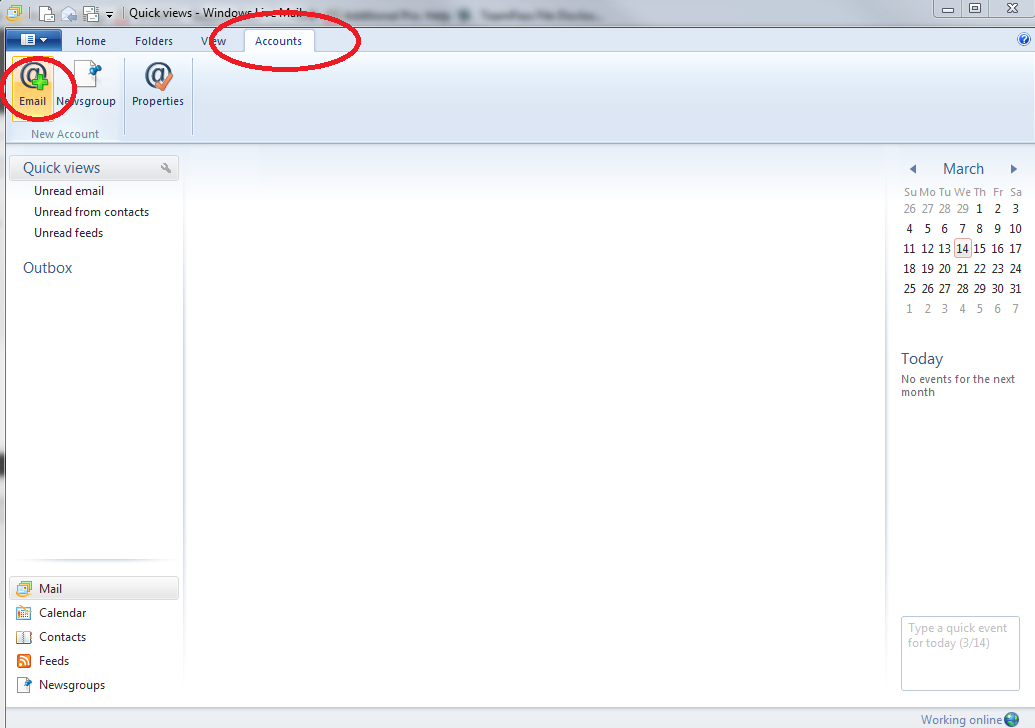
1. Select the Accounts tab and then click the Email(+) icon as per the screenshot below
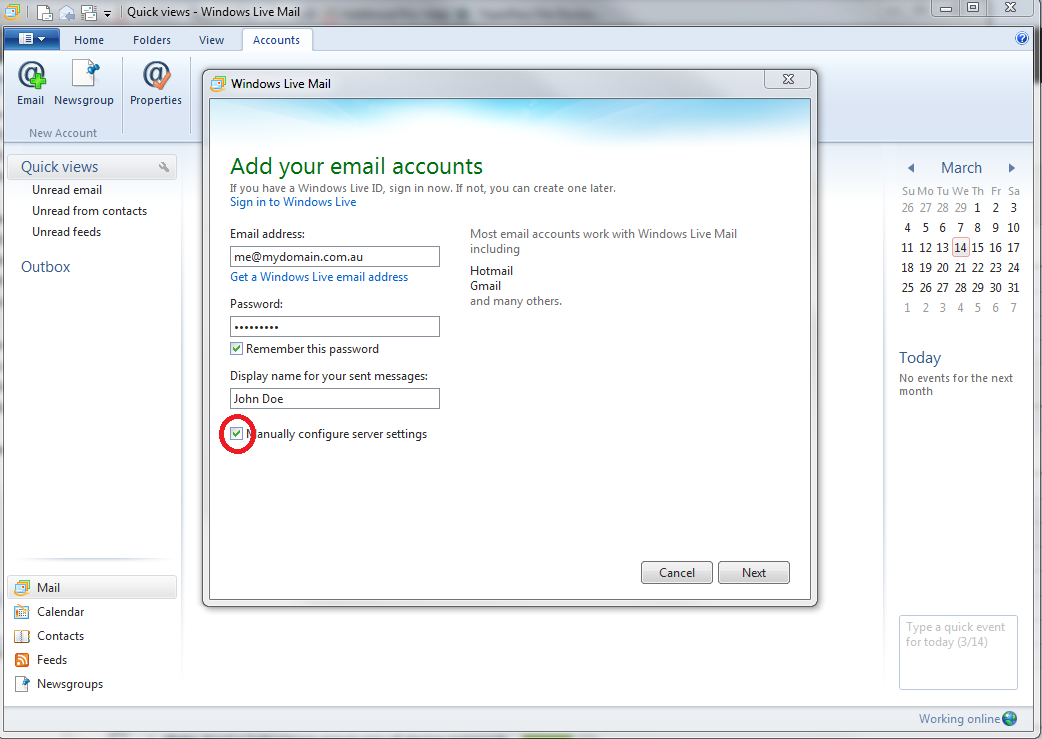
2. In the Add your email accounts dialog, enter your email settings and click the “Manually configure server settings” checkbox.
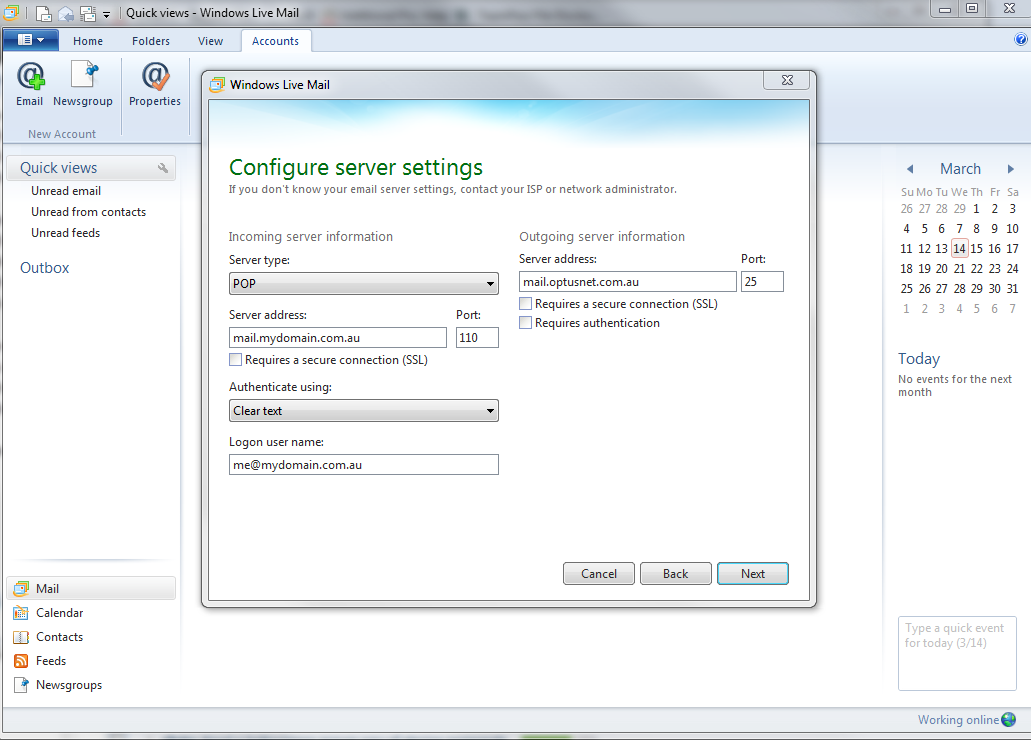
3. Click [Next] and fill out the rest of the email configuration details
Incoming mail server: mail..tld (eg. mail.ausweb.com.au)
Outgoing mail server: Your Internet Service Provider’s (ISP) outgoing mail server (eg.
mail.optusnet.com.au)
Logon User Name: Your FULL email address
Password: Your super-duper secure password
4. Test your account settings by selecting the Home tab then clicking Send / Receive (Sadly, Outlook 2011 doesn’t provide the quick Test settings functionality)
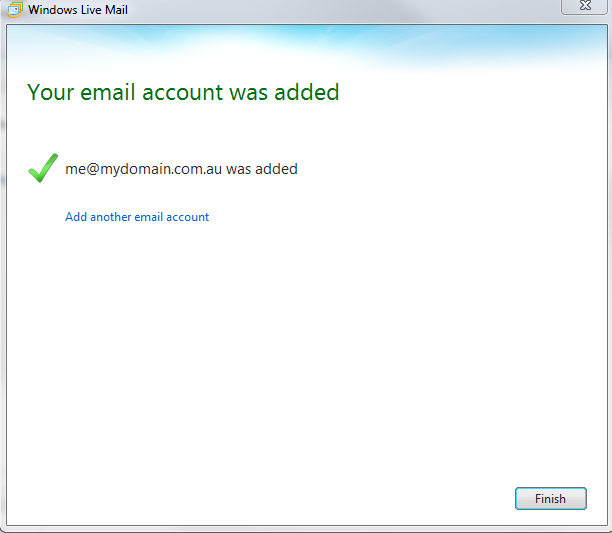
This completes the setup of your email in Microsoft Outlook 2011.
If you receive the Please enter your name and password … dialog indicating the incoming mail settings are incorrect.
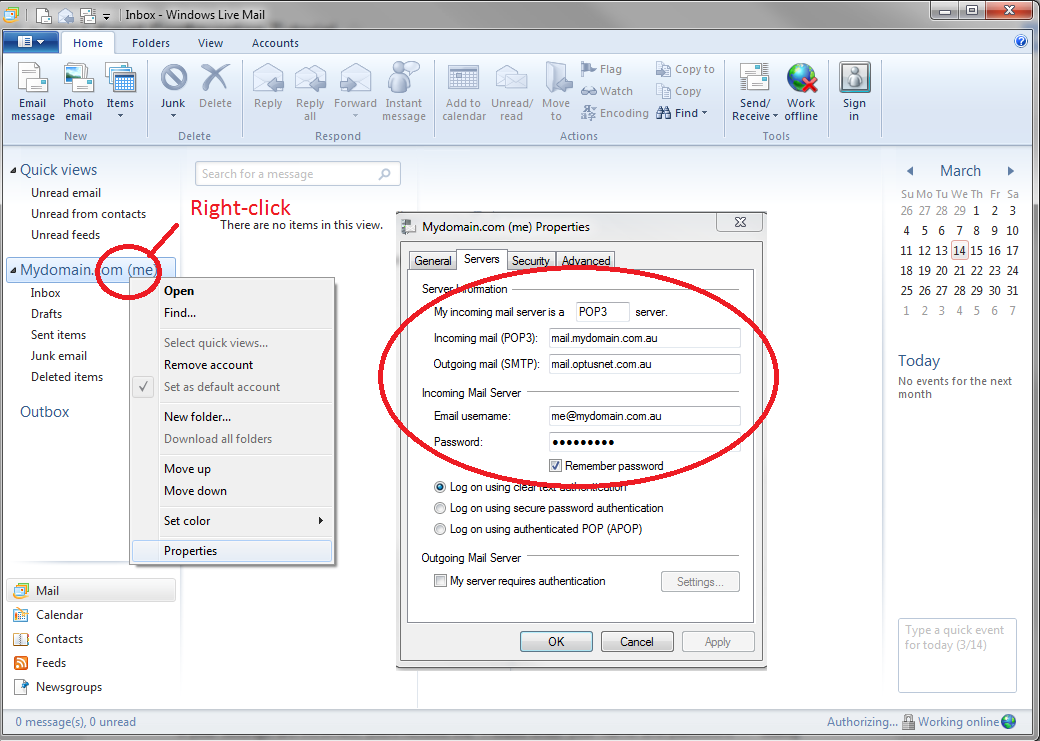
You can re-input the account settings by right-clicking on your address in the left pane as per the screen shot below (Right-click account > Properties)